Overview
Project Ptarmigan is the working name for my specialization project, which seeks to create displacement effects for terrain such as snow, mud and sand.
The short version of how this is done is through a depth camera with a very short frustum looking up through the terrain to detect actors entering into the space. The texture from the depth camera is then mapped onto the terrain mesh in order to create displacement in a hull + domain shader.
The long version? Well, let me tell you…
The Beginning
In the beginning, there was a plane made of two tris. I figured the first step of the project was to make sure that the foundation of it, manipulating vertices through the use of a heightmap in a hull/domain shader, would work.
I had never worked with hull or domain shaders previously, so this was new territory for me. Thankfully there were plenty of very useful resources on setting up a basic hull + domain shader for tessellation online. I still struggled for a while with a lot of the intricacies of the DirectX11 API, primitive topology types, binding constant buffers to certain pipeline stages and so on and so forth.
At last, I had something. It wasn’t very pretty, but the mesh was getting tessellated and the height of the vertices were being adjusted according to the very basic heightmap. Now, onto the next step.

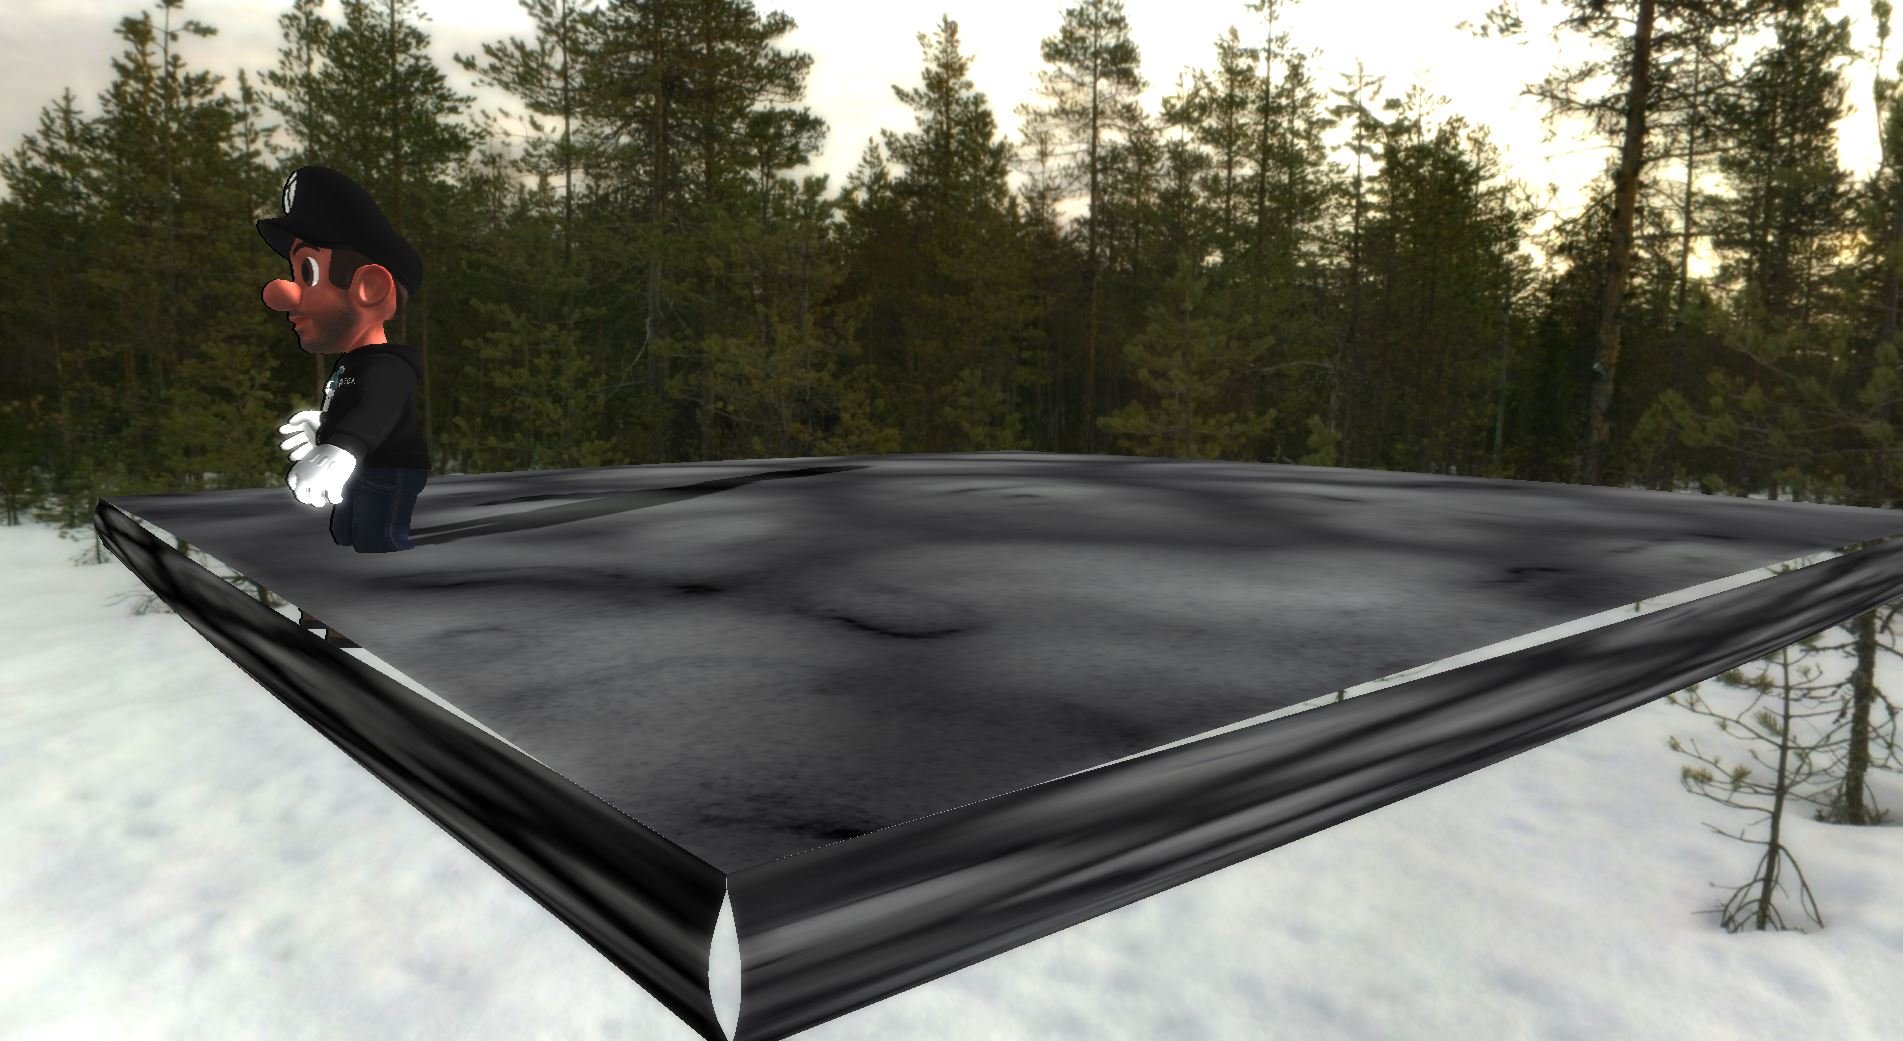
My humble starting point.
Basic tessellation and displacement with heightmap.
The Next Step
Moving on, it was time to implement the ability to dynamically alter the heightmap through the use of the depth camera placed below the snow (henceforth dubbed “snow camera”).
In theory, this part is a pretty simple step. Have a camera below the snow looking up with a very short frustum and use the depth stencil as the heightmap. In practice, this took a good few days to get right. At first, I wasn’t able to see anything from the snow camera. I had no idea what caused it and even with extensive RenderDoc debugging I still couldn’t figure it out.
Eventually, I “gave up” and decided to make an associated pixel shader to go with the snow camera just to see if I could see anything at all through it. Which I could - and suddenly a lot of the puzzle pieces began falling into place. The first of which was that the bounds of my orthogonal snow camera was ridiculously big - scaling it down significantly finally gave me something to work with.
With some more debugging and trying different solutions I finally got it working at a foundational level. TGA bro finally deformed the terrain mesh where he stood, although some things with the depth and resolution clearly needed tweaking. I also needed the deformation to last and not just be where they were standing at that specific moment.

Heightmap based on data from the depth camera. I briefly replaced the snow material to make certain the UVs were correct (this is a literary technique known as foreshadowing).

The resolution of the displacement is still low, despite the tessellation. This heightmap is made with a precalculated image, not the results from the snow camera.
Lasting Impacts
While having the deformation happening clearly was all well and good, it was not enough for what I wanted to achieve. I needed the new depth camera data to overlay on top of the previous in order to really accumulate the snow deformation.
I tried thinking a bit on how to achieve this using DirectX 11 blend states or something of the sort but decided that the easy way was to do something I was more familiar with. For me, this meant creating a simple pixel shader where I can compare the accumulated snow texture and the current frame snow texture and combine them. Something else this easily allowed me to do was to slowly replenish the snow, a cool (somewhat) realistic feature and also very neat for debugging, especially with the ability to control the rate of replenishment.
This worked very smoothly, and after some quick reconfiguring to read and write from and to the correct textures, TGA bro started leaving trails where they walked. However, it looked quite blocky with the low resolution mesh. I quickly made a more subdivided plane in Blender and suddenly there was a clear improvement in detail.
There were still jagged vertices that looked somewhat out of place, and though I realized I don’t think I could eliminate these entirely, I did want to reduce it more. One way was to blur the trail texture somewhat, which didn’t make a big difference but the surface overall looks a bit smoother with it.
In my main reference for this project, the GDC talk about Deformable Snow Rendering in Batman: Arkham Origins, they also talk about blending between the “fresh” snow texture and a more compressed snow texture. I thought this effect looked cool and as such, I decided to implement it. I hadn’t implemented texture blending before, but the concept was simple enough in this case - simply use the height level as the reference for the texture weights. The lower the world position, the higher the weight for the crunchy snow and vice versa.
While I thought the technique looked good, I had no idea how much it would help visually until I saw it myself. Implementing the texture blending, even if quite rudimentary, made reactions go from “that’s a cool effect” to “If I hadn’t known the context, I would have thought it was from a finished game”.
This doesn’t necessarily need to be done with a different texture, depending on the material and desired look. A simple darkening effect could suffice, but for my purposes texture blending felt the most relevant as compressed snow has quite a different look and feel compared to fresh snow.
  float newDepth = snowCameraTex.Sample(texSampler, input.UV).r;
  newDepth = 1 - newDepth;
  const float oldDepth = currentSnowTex.Sample(texSampler, input.UV).r;

  newDepth = max(oldDepth, newDepth);
  newDepth -= SB_ReplenishRate;

  return float4(float3(newDepth), 1.0f);
Simple HLSL pixel shader to overlay previous snow cam textures with texture from current frame.
Correctly working trails in the “snow”!

Texture blending on the deformed snow mesh.
(Very quickly) replenishing snow.
So, that’s it, right?
Now there’s proper footsteps in the snow, with texture blending, high resolution mesh with tessellation. People I ask say the result looks very good at this point, and I’m honestly quite inclined to agree. There are a few things that would be neat to figure out, such as outputting smooth shaded vertex normals from the tessellation stage. And one small additional thing…
The footsteps end up inverted. Because I had been working with a much deeper snow, it was quite hard to see the footsteps being inverted when TGA bro was walking through the almost waist deep snow.
But with the reduced depth of the snow, it’s easy to see that the footsteps end up on the opposite side of the mesh. At first I thought this would be a simple fix by flipping the snow texture horizontally, but this didn’t work and simply ended up looking exactly the same.
I’m not sure why this didn’t work, as neither did flipping the UV coordinates when sampling in the pixel shader. Luckily, simply flipping the UV map manually in blender perfectly solved the problem despite as far as I can tell being the same fix. Hey, as long as it works, right?
Conclusions and Showcase
As this project finally nears the end, I’d like to bring up what I think are some of the most successful parts of the project, what I could have done better, and some neat little clips showing some of the potential that this technique holds.
TGA bro showing how to make snow angels (in the snow).
The biggest advantage of this way of making tracks in snow is that it is completely dynamic. Any object or actor with a mesh can interact with the snow with a fairly high level of detail. While the TGA bro character has been a great assistant in the process, I decided to make a few different ways to show this off. For example, a snowball with tank controls that builds up size as it rolls through the snow.
A tiny snowball with tank controls, growing as it rolls through the snow.
An example of different terrain textures, showing the technique working well with sand and mud.
This technique can very easily be adapted to to other materials than snow, such as the demonstrated mud and sand materials. While sand doesn’t quite behave like mud or snow does, I believe that only slight adjustments could make it look very convincing. But I’ll leave that for the reflection section.

A new model to replace trusty old TGA bro. Concept art and mesh by Amélie Fast, rig, texture and animations by me.
Reflections
I am very happy with the result I managed to achieve in three weeks worth of full-time work. Working on this project to realize a technique I have been deeply fascinated by since childhood was among the most enjoyable programming projects I have had the fortune to work on.
With that said, there’s always room for improvement. The best way to figure out what could be improved and expanded upon is as always to reflect upon the work done and find the good, bad and ugly.
I have thought a lot about what could be improved to provide an even better effect, what could be improved to scale the technique more effectively as well as what could be improved to enhance performance given different scenarios. With more time, I would have liked to implement all or most of these techniques as well.
An obvious way to improve the visual effect is to combine the displacement with traditional decals, especially for things such as shoe prints, footprints, paw prints for animals, tire tracks for vehicles and so on. By combining these techniques you could achieve a very convincing result, especially on a material like mud.

Concept mockup for combining decals with the displacement technique.
Another thing that some games already do is to “push” some snow off to the side where displacement has occured. While this technique shouldn’t be too difficult to implement as it is (in theory) just taking the displacement texture and blurring it, inverting it and then subtracting the original displacement texture from the new inverted one and then overlaying them. This would be particularly convincing with materials like mud or particularly wet snow. The main reason I didn’t have time to implement this was the tediousness of combining this with the replenishing snow I had.
To make the sand act more like real sand, I think amping up the blurring effect to (a metaphorical) 11 could help. This would make the height difference a lot more gradual, like dunes or piles of real sand.


Concept mockup for raising the terrain around the terrain which is pushed down.
First, the base color of the texture needs to be changed to allow the heightmap to displace upwards. Then the original depth camera texture copied, inverted and blurred, and then the original texture is overlaid on the blurred texture. The brighter the color, the more the displacement is downward and the darker, the opposite.
But enough about the visual quality, what about the performance?
To be honest, I wasn’t very concerned with performance in this project. It runs well enough on my machine, but it is a scene with just a handful of meshes. That said, I did still think about several optimizations that could be implemented. If this were to be scaled up, there are several considerations to be made.
Tessellation is cheap. But even cheaper would be to have a high resolution mesh and just modifying vertices in the vertex shader, skipping the tessellation step entirely. There are a few drawbacks to this, such as memory and storage size. A better compromise, in my opinion is to use a selective tessellation effect, only tessellating the vertices near the edges of displacement in order to save performance in the areas where the resolution requirements are not high.
I tried implementing this but did not have time to finish it. The limited debuggability of the hull shader stage made the debugging and work on this difficult. That said, I still learned a lot about the usage of hull and domain shaders in tessellation in the process.


Concept mockup for selective tessellation. First the depth texture is evaluated for areas where the “edges” of the displacement area (highlighted in red) are. The green areas, despite being areas that will be displaced, do not require additional tessellation (depending on the resolution of the mesh) as the area is homogenous in its depth. Ideally, this would be referenced against a grid where each cell is the size of a face on the mesh, then the cells containing any “edge” pixel would be tessellated.
Overall, I learned a lot about a technique that has fascinated me since my early days playing video games. I haven’t worked with tessellation previously, and there are lots of things in graphics programming that are still unfamiliar to me. Despite this, and maybe even because of it, stepping out of my comfort zone for this specialization allowed me to grow and improve even further as a programmer and game developer.
Thank you for taking the time to read about my journey into the fascinating world of tessellation in DirectX11.